Anybody who knows me will tell you quite confidently that I have a strategic at home tanning routine. When I was growing up, I was an avid sun worshipper. In my late teens, I would oil up my skin and lay in the sun for hours. It wasn’t until my lovely grandmother was diagnosed with skin cancer and I had my own scare with some questionable moles, where I decided that it was time to make a change and begin to look after my skin a little more.
From that point, I now avoid the sun wherever possible. I now opt to use a sunless tanner on a regular basis. I 100% understand that nothing really compares to a lovely and deep natural tan, but if I can help look after my skin whilst still looking lovely and bronzed. That is why today I am going to sit down and share with you my at home tanning routine.
My tanning routine.
To try and keep my tanning routine as simple and straightforward as possible. I have spent many years trying out different products and I now feel like I have the perfect products in my arsenal. I reach for all of the time and my skin always looks perfectly bronzed without looking like I have lashings of false tan on and I no longer get that appearance where the tan begins to break up on the skin and you end up looking like a loaf of tiger bread. So I thought that in this blog post I would talk through some of the steps that I take in my sunless tanning routine and let you know my tips and tricks that I do in order to get the best out of my false tanner for longer. So, I wanted to share my at home tanning routine.
Start wth bare skin.
The very beginning of my sunless at-home tanning routine is to give my skin a good scrub in the shower and remove all layers of additional/old tanner from my skin. This is always a scary part of the tanning routine because I see the true paleness of my skin, but it gives me a blank canvas to begin going on with my new layers of tan for the week. I make sure that I have exfoliated, shaved and moisturised the more porous areas of the skin to ensure that my tanner does not stick and overdevelop in these areas. Then after doing these few steps I will give it a few hours to ensure that my tanner doesn’t seem into any open pores from shaving.
Go in with sunless tanner.
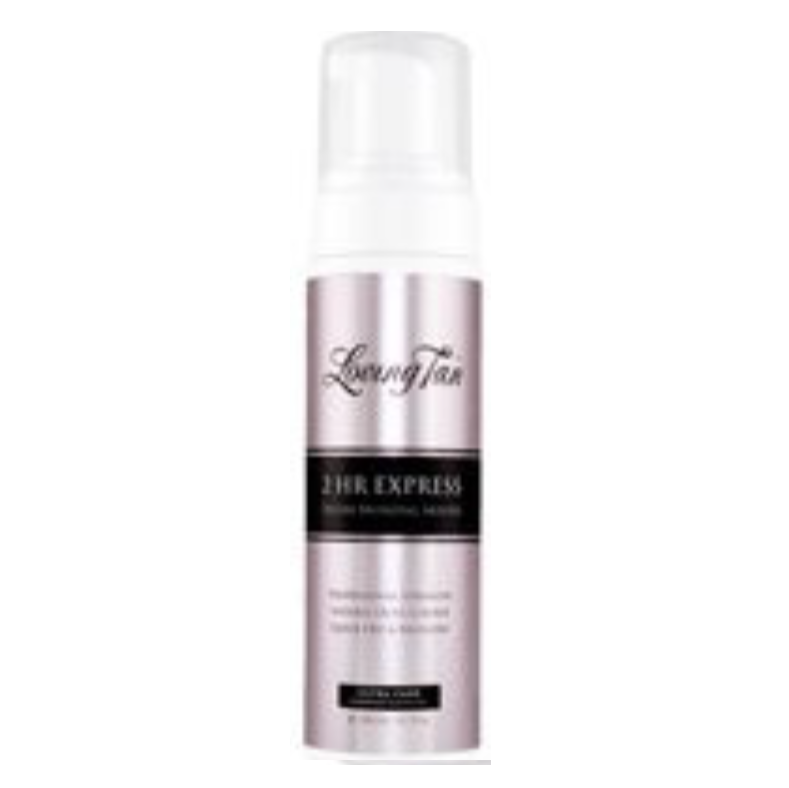
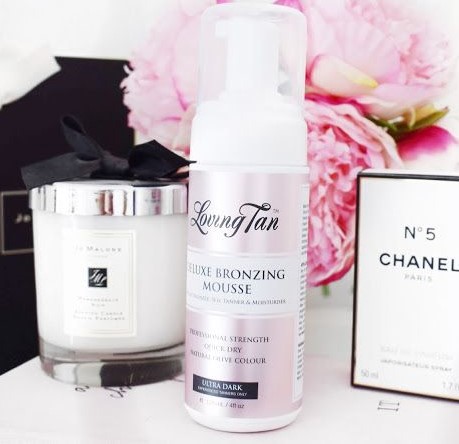
Each Sunday I will shut myself in my bathroom for 10 minutes before I hop into bed and I will lather myself up in my Loving Tan Ultra Dark Tanning Mousse. After many years of trailing products, I find that this is the most perfect for the shade and the longevity of the product on the skin. I find that Loving Tan glides on the skin so lovely and it almost feels like a moisturiser, it has a good drying time, it does not feel sticky or have an awful false tan smell and I get a lovely deep shade.
Shower and apply gradual tanner.
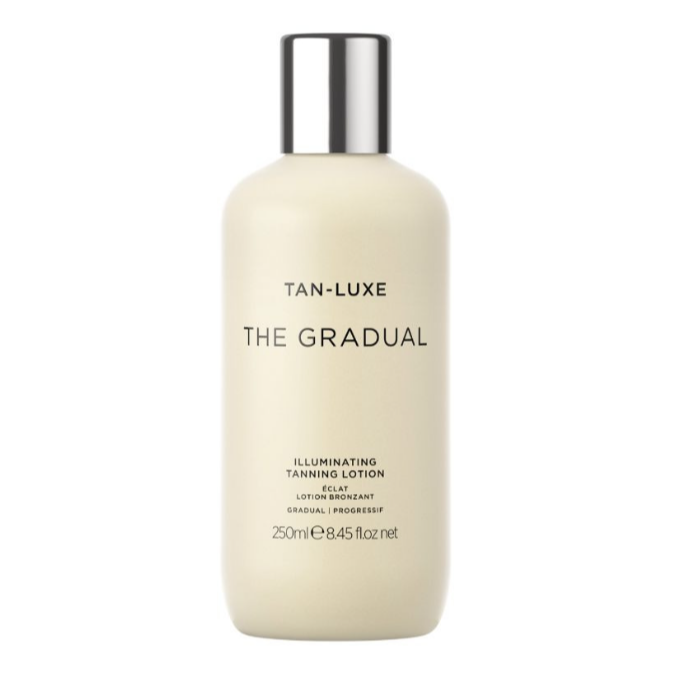
Obviously, throughout the week I will shower, and I do not go back in with my normal tanning product, I will then go in with my Tan Luxe Gradual Tanner. I first discovered this product last year and I fell in love with how it makes my skin looks. I feel like because this is quite a light tanner on my skin, it just helps my skin to stay lovely and moisturised while helping to maintain my Loving Tan and give it a great additional depth to the skin.
By adopting this at home tanning routine and by adding in the Tan Luxe Gradual Tanner I feel like my tanner lasts great all week long and I never have downtime where my tan begins to break up and looks anything less than great. I could even get much longer out of my tan rather than scrubbing on a Sunday and starting over. I just find that this works well for me and my lifestyle. It has taken me a very long time to get to a point where I am happy with my tanner 7 days a week. Make sure to leave me a comment down below. Let me know if you have any tips and tricks to your tanning routine that can make your tanner last even longer!
LOVING TAN
ULTRA DARK TAN
My all time favourite tanner that has stood the test of time in my collection.

